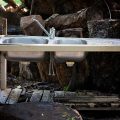
If you have to repair an old outdoor kitchen at some point you will have to install the sink.
Like us, we did not know how to go about it either. With more time than money we finally struggled through it.
This easy-to-follow guide will get you started. You’re Welcome, we hope it helps you!
Preparation
Before starting this project, check that you have the right kind of sink used for replacement. This install is for a drop in sink only.
It would be a bummer to pull it out the old sink only to find the new one didn’t fit. Or it’s different. It has to be the same size or a bit bigger. This is so we can fit it back in the same size cutout.
Now go through the instructions in the manufacturer’s manual for the exact fitting instruction.
It will also have the cutout template with the correct fit for that model.
Step 1. Measure both Sinks
Take the measurements of the existing sink. If there is a difference in measurements between the existing sink and your new sink, then the countertop opening and/or plumbing may need to be modified.
Step 2. Check the Faucets
Decide if the faucet will also be replaced whenever components like soap dispenser, sprayer, on-demand hot water tap or filtered water cap are being installed.
Standard sinks normally have 1, 2, 3, or 4 holes on the back lip for a faucet and other components.
Installing a new faucet plus other components is easier if done when installing a new singer because accessing the hardware is more conveniently done with the sink coming out of the counter top.
Removing the old sink
Step 3. Cut the water off
Turn off the hot and cold water supply lines. The cabinet beneath or the basement is where the shutoff valves are typically located.
Turn off the main supply of the house if you can’t locate them.
Step 4. Release back pressure
Turn on the faucet to ease the pressure of water in the lines versatile.
Step 5. Loosen the Sink
You will find the metal clips below the counter around the perimeter of the sink. Use a screwdriver to loosen them. Use a Socket wrench or pen-end wrench and swing them in the direction of the sound bowl.

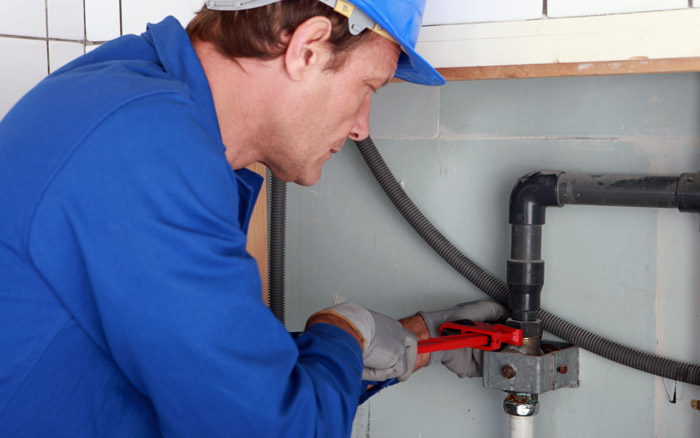
Step 6. Disconnect faucets
To disconnect the water supply lines, to the faucet with a pipe wrench. Drain any water remaining in the supply lines in a bucket and drain pipes as well.
Step 7. Disconnect Waste
Where a garbage disposer is available, switch off the circuit, and then remove it. Disconnect the drainpipe with pliers and P-trap from sink drain to catch excess water, put a bucket or pan below the drain.
If applicable, remove the drainpipe of the dishwasher.
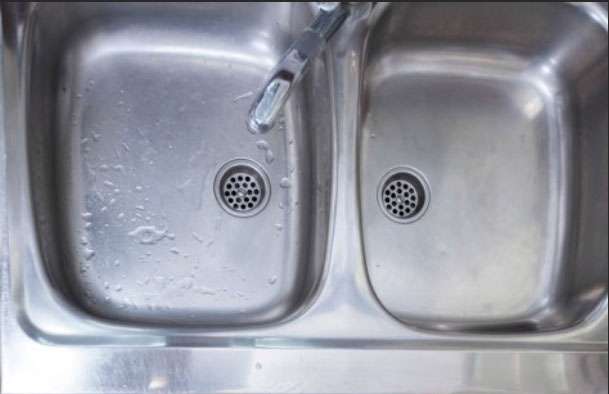
Step 8. Remove old sink
Cut the caulk around the sink using a utility knife. Exert force on the sink from below and lift off the old sink.
Remove grime, old plumber’s putty countertop and caulk with a putty knife. Also make sure to clean any components you will re-install.
Install the New Sink
Step 9. Check the cut out
Place the new cut out template on the countertop hole to check that it fits.
If the dimensions of the new countertop opening are bigger than the current one, flip the sink upside down to where you want it on the countertop.
Mark the outline and make a new cutout using a jigsaw.
Step 10. Test the new sink
Take the sink out of the box and turn the clasp inward facing the bowl.
Position the sink in the cut out and make sure it fits. Remove and place the sink upside down on the bench.
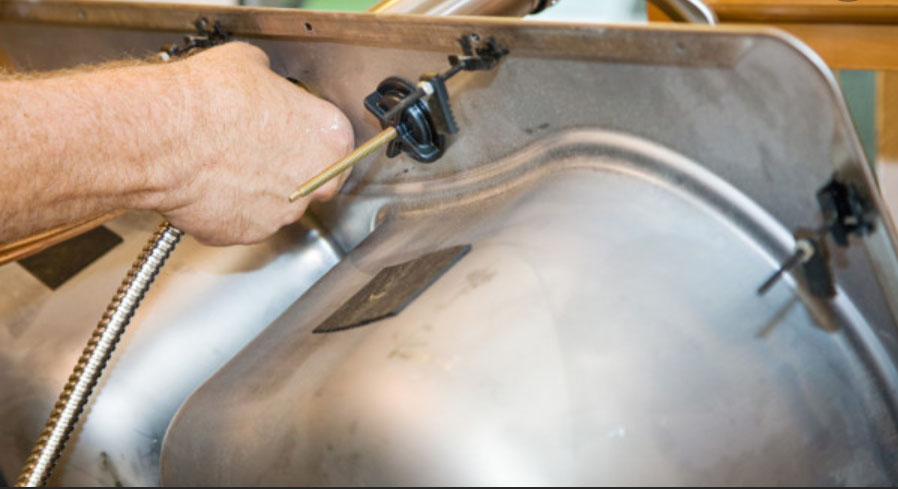
Step 11. Fit the new sink
Make sure the manufactures seal is in tact and remove any application tape. Otherwise, apply a small bead of clear silicone around the edge of the new sink.

Gently fit the sink back in place. Underneath the sink, there is a plated attachment that is outwardly clipped.
Make sure that it is adequately fastened with screws.
Get rid of excess putty with a soft towel.
Step 12. Reconnect plumbing
Where a garbage disposer is available, Position the mounting bracket with a screwdriver to the bottom of the sink according to the manufacturer’s instructions.

Connect the supply lines to the water connections of the supply channel and the faucet. Tighten the joints, but make you are careful so you do not make it too tight or strip the head.
In case a garbage disposer is available, follow the manufacturer’s instructions to install the unit. Insert the discharge channel and tighten the clamp.
Reinstall the dishwasher drain if applicable.
Connect the Drain pipes and re-attach the P-trap. Apply a little bead of sealant to the pipe perimeter.
Step 13. Turn on water
Reconnect the power to the disposer. Turn on the water and check for leakage.
Your Fitting’s Are Different – Help?
In case your old drain pipes do not fit your new sink, you can adjust in these ways.
Where the pipe is too long.
- Measure the needed length
- Extend a little thee measured length to make sure the connection is tight.
- Cut the pipe using a hacksaw wearing safety glasses.
- Put a washer on the pipe, slide the slip nut onto the channel towards the right direction, thereafter, add washers.
- Fasten the channel in position and screw the nut to the right fittings.
In case a pipe is too short:
- Check the needed length
- Leave an extra length to the actual length to ensure the connection is tight.
- Buy a longer pipe. Verify that the new channel has the right diameter.
- Cut the pipe using a hacksaw if it is longer than necessary.
- Put the washer on the pipe, and then slide the slip nut onto the channel towards the right direction. Thereafter add a washer.
- Screw the slip nuts to the correct fittings as you hold the pipe in place. In order to make a bend first try turning the outlet tree, P-trap or any other types of pipe to align adequately. If that fails, using an extension pipe that is flexible would easily make the connection. Bend the pipe to the preferred position and using rubber washers and slip nuts, attach it to other plumbing.
Learning how to install a kitchen sink yourself would not only save cost but would also help you become more efficient as an individual.
However, it is important that you understand all the risk so that you know when to hire a professional and when to do it yourself.
Related posts:
 The Ultimate Guide to Creating an Outdoor Entertainment Area Features w/ Outdoor Kitchen Sink and Bar
 Best Portable Outdoor Camp Kitchen With Sink (And Duel Purpose Garden Sink)
 Best Outdoor Garden Sinks: The Most Handy Outdoor Products to Make Your Life Easier
 At Home Outdoor Sinks: What Are The Different Uses? Why So Convenient?