Chairs can be expensive and sometimes it can be hard to find one that suits a particular taste.
Custom built DIY simple chairs are an easy way to spruce up any space at minimal cost and effort.
One of the most popular DIY chairs is called the two-hour chair. This is because it should take two hours maximum to complete the project.
This chair is sleek, modern and would work great as home chairs and office guest chairs.
Make Your Own Office Guest Chairs
Tools and Materials Needed
For this project, all you need is a few supplies from the hardware store, two hand tools namely Philips head screwdriver and 7/16” wrench, and two hours. The materials needed are as follows:
- 2 3″ plated, steel, slotted, angled shelf supports
- 9 18″ plated, steel, slotted, angled shelf supports
- 215″ plated, steel, slotted, angled shelf supports
- 18 (1/2-20 X 1/2″) zinc, bolts and nuts
- 18 (1/2″) flat washers
- 18 (1/2″) lock washers
- 18″ square piece of 3/4″ plywood
Instructions
Please keep in mind that a DIY simple chair is designed to follow the way people naturally sit, which is slightly leaning back. The chair base should be smaller than the seat to ensure this.
Also, if you would like to stain the chair seat, this should be done prior to attaching it to the chair frame.
Step 1
Arrange 3′ length supports on a work surface with flat edge down. Position an 18″ piece support on either end. Make sure the edges are flush.
Then put another 18″ piece shelf support from one edge. Slip the flat washer into the bolt. Put in it in the corner hole of the frame’s underside to fasten.
Then slip the lock washer into the bolt, then the nut and, using your wrench, tighten it. The chair’s back is now complete.
Step 2
- Arrange an 18″ shelf support on both ledge’s ends of the support, in the middle part of the back of the chair.
- Now, using the nuts, bolts and washers like what you did in the previous step, lock these to the frame down the length of the middle support and inside edge.
- In the same manner, fasten a third shelf support measuring 18″ across seat’s front.
Step 3
- Fasten a 15″ support to the outside of the frame’s bottom and secure an 18″ piece across the base’s front.
- Make sure that the front of the chair facing you and pull the seat towards you to incline the frame.
- Mount the last two 18″supports to the base frame and outside of the seat.
- Tighten all bolts around the chair. This is the complete frame.
Step 4
- Set the plywood into the frame, so it rests on the bolts.
- It will be higher than the frame edges; hence, your legs do not touch the frame when seated.
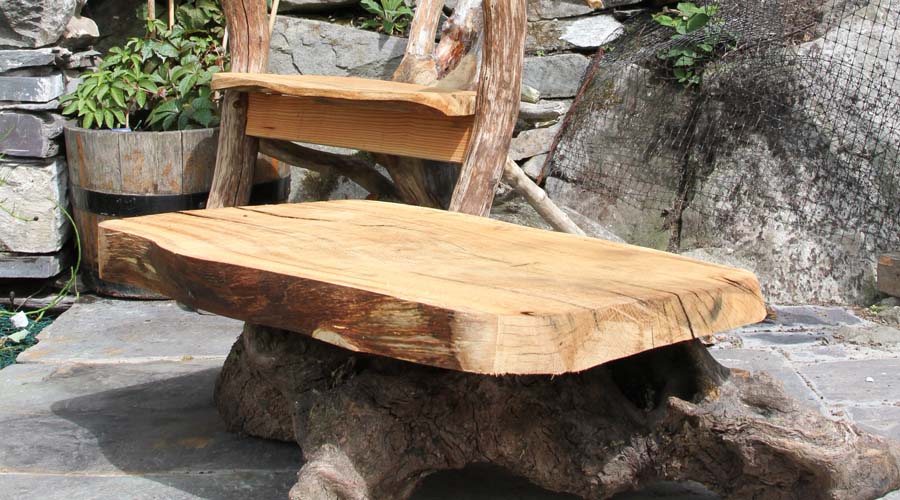
DIY Simple Chair For The garden
You can do this project one at a time. For multiple chairs, do each step at the same time for each one. Follow the steps and you can have as many DIY simple chairs as needed in only two hours.